Wiki Guide: How to Extract Data from Wikipedia Using an API?
![Muninder Adavelli]()

Muninder Adavelli
Updated · Feb 11, 2024
Updated · Jan 02, 2024
With more than five years of experience in the background check industry, Ritesh Kumar founded Looku... | See full bio
Florence is a dedicated wordsmith on a mission to make technology-related topics easy-to-understand.... | See full bio
This page may contain links to our partners’ products and services, which allows us to keep our website sustainable. Тechjury.net may receive a compensation when you sign up and / or purchase a product or a service using our links. As an Amazon Associate we earn commissions from qualified purchases. This comes at no extra cost to you. On the contrary, these partnerships often allow us to give you discounts and lower prices. However, all opinions expressed on our site are solely ours, and this content is in no way provided or influenced by any of our partners.
There are over 5 billion Internet users worldwide that share their information with everyone else because, on the Internet, personal information is made public. These data are accessible through state public records, social media accounts, and online purchases.
You might be considering opting out of the Internet—wiping off your digital footprint and protecting your personal information—but is that even possible in today’s digital age?
As the saying goes, nothing is impossible. There are ways to remove yourself from the Internet, and this article has 5 methods for you to try, so read on!
As essential as the Internet in this current technological era, some choose to reduce their presence on the platform or try to opt out completely.
However, removing yourself from the Internet can be a time-consuming process. Still, it’s better than falling victim to the cyber attacks that happen every 39 seconds or identity theft cases every 2 seconds.
Deleting yourself from the Internet can be helpful for numerous reasons. Here’s an example situation:
There are 4,000 data broker companies worldwide that harvest your personal information. They gather publicly-obtainable data like federal and state records. Its full market size is now valued at over $276 billion.
At the same time, data broker sites help you find someone on the Internet with just a piece of lead—like a person’s name and phone number.
Thankfully, data removal sites exist to help. These tools erase your personal information from data broker sites and search engines.
You can consider the following removal tools:
This data removal service will help you withdraw your personal information from over 180 data broker sites. Moreover, Incogni helps you save the time and effort of sending removal requests manually to each site.
|
📝 Note: Incogni does not offer its services for free. Instead, a subscription plan is available in monthly and yearly options. The monthly plan costs $12.99, while the annual plan is $6.49 per month. |
To start using this service, follow these steps:
After completing the payment, Incogni will contact the data broker sites. Typically, a site will respond to the removal request within a week.
The entire process will take a couple of months, but don’t fret, Incogni will send you weekly updates regarding the status of each removal request.
OneRep offers a service that deletes your data from more than 190 data brokers. The tool also offers a self-removal service for 5 days, but if you prefer an easy fix, they can automatically send removal requests on your behalf.
Here's how you can use OneRep:
OneRep will execute a scan to find your data in broker sites. You will have two options:
|
📝 Note: OneRep’s subscription plan starts at $8.33 monthly for an individual. You can also avail of its family plan for up to 6 people, costing $15 monthly. |
One piece of information that interests hackers is your IP (Internet Protocol) address. It is a good lead that shows your digital footprint. It can reveal your browsing history, cookies, and even data cache.
Concealing your IP address is possible by using specialized privacy tools like VPN. A Virtual Private Network (VPN) lets you encrypt your internet traffic, leaving hackers clueless.
|
⚠️ Warning: Countries have different VPN laws. We do not promote ILLEGAL activities, so please check the legality of VPNs in your country before using them. |
There are many VPNs to choose from out there. Some of the great choices are:
NordVPN is one of the most reputable VPNs in the online privacy market. Their service is known to have strong security features and excellent speed, debunking the VPN myth that says such a tool slows down your internet and device.
This VPN offers a secure tunneling protocol, ensuring your personal information’s safety while you explore the web. It also has expansive coverage with over 5,000 servers worldwide.
One feature that makes NordVPN credible is its kill switch, which comes in two:
These two options will ensure your data will not leak on the web. It allows you to hide your digital footprint as you browse.
|
👍 Helpful Article: A VPN kill switch disconnects your device from the internet during VPN connection failure. You can learn more about what is a VPN kill switch from Techjury. |
To use NordVPN, follow these steps:

|
📝 Note: NordVPN is free to use for up to 30 days. After this duration, you can choose a monthly, yearly, or even a 2-year subscription plan for as low as $3.99. |
Other than hiding your internet traffic, Windscribe also comes with ROBERT, a feature that blocks the following:
To start using Windscribe, here are the following steps.

Windscribe will mask your IP address with a new one. This protects your data by making your online activity unrecognizable.
|
✅ Pro Tip: If you prefer a free VPN service, you can use Windscribe as an alternative. You can use Windscribe's free features for a limit of 10GB per month. It also offers a paid plan for more features and unlimited bandwidth for only $5.75 monthly. |
Social media apps usually collect user information to improve customer experience. However, the same social media apps that you spend so much time on can be the same apps that sell your data.
Have you experienced this before? When you visited a brand’s website to check them out, but you didn’t buy anything. The next thing you know, ads from that brand or its competitor begin showing on your news feed.
That scenario results from some social media apps accumulating your data, then sharing it with different companies for marketing purposes.
|
Here’s what Forbes reveals regarding this situation: Social media platforms often generate the majority of their revenue through selling hyper targeted advertising based on algorithmically mining every second of their unwilling and unwitting users’ lives. |
According to pCloud, 79% of your data is being shared by Instagram with third-party companies. Facebook (57%) and LinkedIn (50%) follow this.
Some people can’t just delete their social media accounts to protect their data. Admit it or not, these platforms have become integral to most people’s daily lives. However, you can always take preventive measures to regulate your social media activities.
Facebook is one of the most extensive social networks, with over two billion users. Let’s use it as an example to know how to adjust your Privacy Settings:
Keep Your Location Data PrivateYou can find your location data on your device’s settings. However, adjusting it won’t entirely prevent Facebook from accessing your location. What it does, instead, is stop showing your precise location. On Android, go to your phone’s Settings > Location > App location permissions. Select Facebook. Click Allow only while using the app or choose Deny. This also works in newer iPhones. Go to Settings > Privacy > Location Services > Facebook. You can choose Never or While using the app. |
Avoid Using Your Facebook Account To Sign UpUsing your Facebook account provides an easy way to sign in to any website. However, Facebook collects more personal data as you do this. Removing your personal information from companies is impossible. Regardless, you can still see what apps on your computer are harvesting your personal data. Clearing and reducing the apps linked to your Facebook account lets you control your online activity. Log in to your Facebook Account. Go to Settings and Privacy > Settings > Apps and Websites > See More. Click on the box next to the app’s name and select Remove. |
Make Your Profile Harder To FindFacebook has this default feature that lets your profile appear on Google search results. So, if you use your full name for your Facebook profile, someone can use it to look you up and immediately land on that account. On your account, go to Settings and Privacy > Settings > Privacy. Click Do you want search engines outside of Facebook to link to your profile? and Edit. Switch it off. You can also change the reach of your posts and account details to Only Me to prevent anyone from seeing your Facebook profile. Using aliases is another method that lets you access Facebook without revealing your true identity. This tactic will anonymize your profile, making it exclusively accessible to people who know it. |
Google holds much information on almost everyone on Earth. If you type a name on the search bar, you will see a list of data about that person on Google search results.
This could be good if people use it with good intentions, which is not always guaranteed. Moreover, not all of us are comfortable with being found on search engines.
Fortunately, Google offers an option to send a removal request to let anyone delete any personal data on a website. Here’s a step-by-step guide on how to do it:
After you submit the removal request, Google will remove your personal information from the web page. Google may send you an email if they need more details.
Even though Google has a secure system, hackers can still find ways to access all sorts of information from the web. They can resort to phishing, social engineering, and other sophisticated tactics.
|
👍 Helpful Articles: Not familiar yet with those terms? Discover more about them with these insightful Techjury articles: |
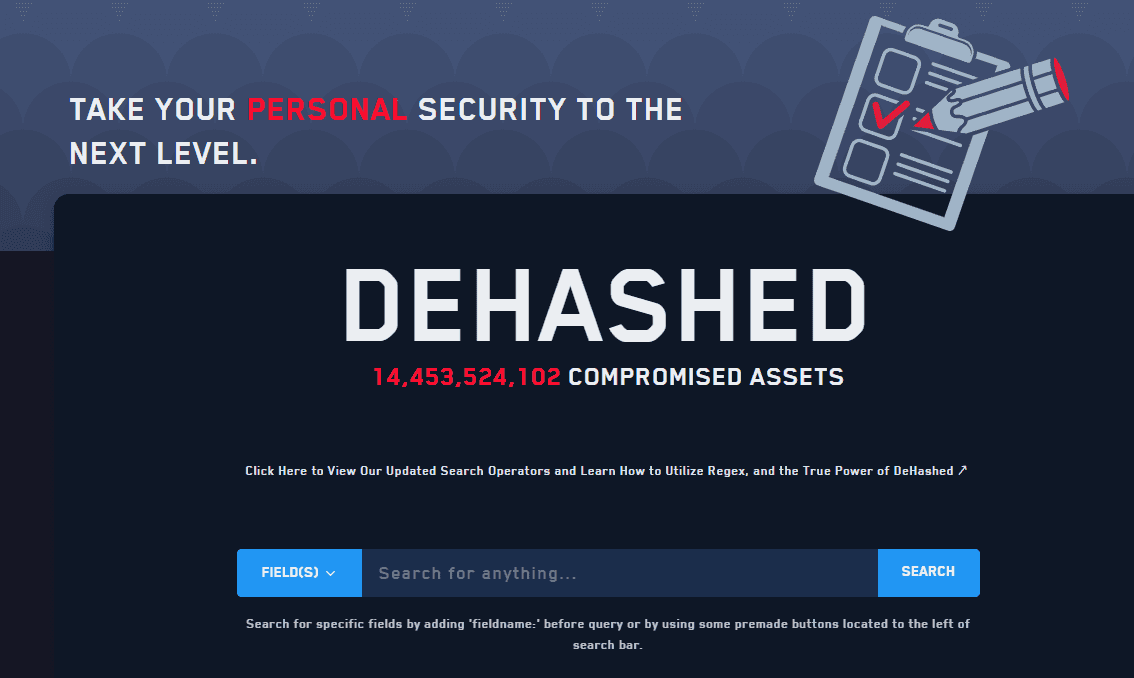
One tool known to erase your data from the Internet is DeHashed. It is a cybersecurity company that is in the business of managing your online reputation.
If you want to use DeHashed to delete yourself from the Internet, follow these steps:
|
📝 Note: DeHashed offers two options. You can let your compromised profiles stay as they are or remove them entirely from the internet. The latter can cost you money, but the result is worthwhile. DeHashed offers a monthly plan for $15 and an annual one for $179.99. |
Your personal information is not just a cliche on the Internet. Anyone can use it for purposes that best fit their interests. Sometimes, it comes with bad intentions.
However, you can control your online activities or even remove your information from the Internet to protect your online privacy. The above methods can help you reduce the risk of being a cyberattack victim.
Leaving your data on the Internet puts you at risk for identity theft. Being a victim of identity fraud can affect your life—socially, mentally, and financially.
Enter your name in the search bar and explore each Google search result.
Regulate your social media activity and make your profile inaccessible via Google search. To secure your internet activity, use a VPN to encrypt your traffic and avoid leaking your personal information.
SHARE:
Your email address will not be published.
Updated · Feb 11, 2024
Updated · Feb 11, 2024
Updated · Feb 08, 2024
Updated · Feb 05, 2024